
A couple of my brides this year introduced me to BHLDN – the wedding line under the same company as Anthropologie. I am in love with both lines because all their items are gorgeous, classic and unique. Vintage-classic brought back to life 🙂
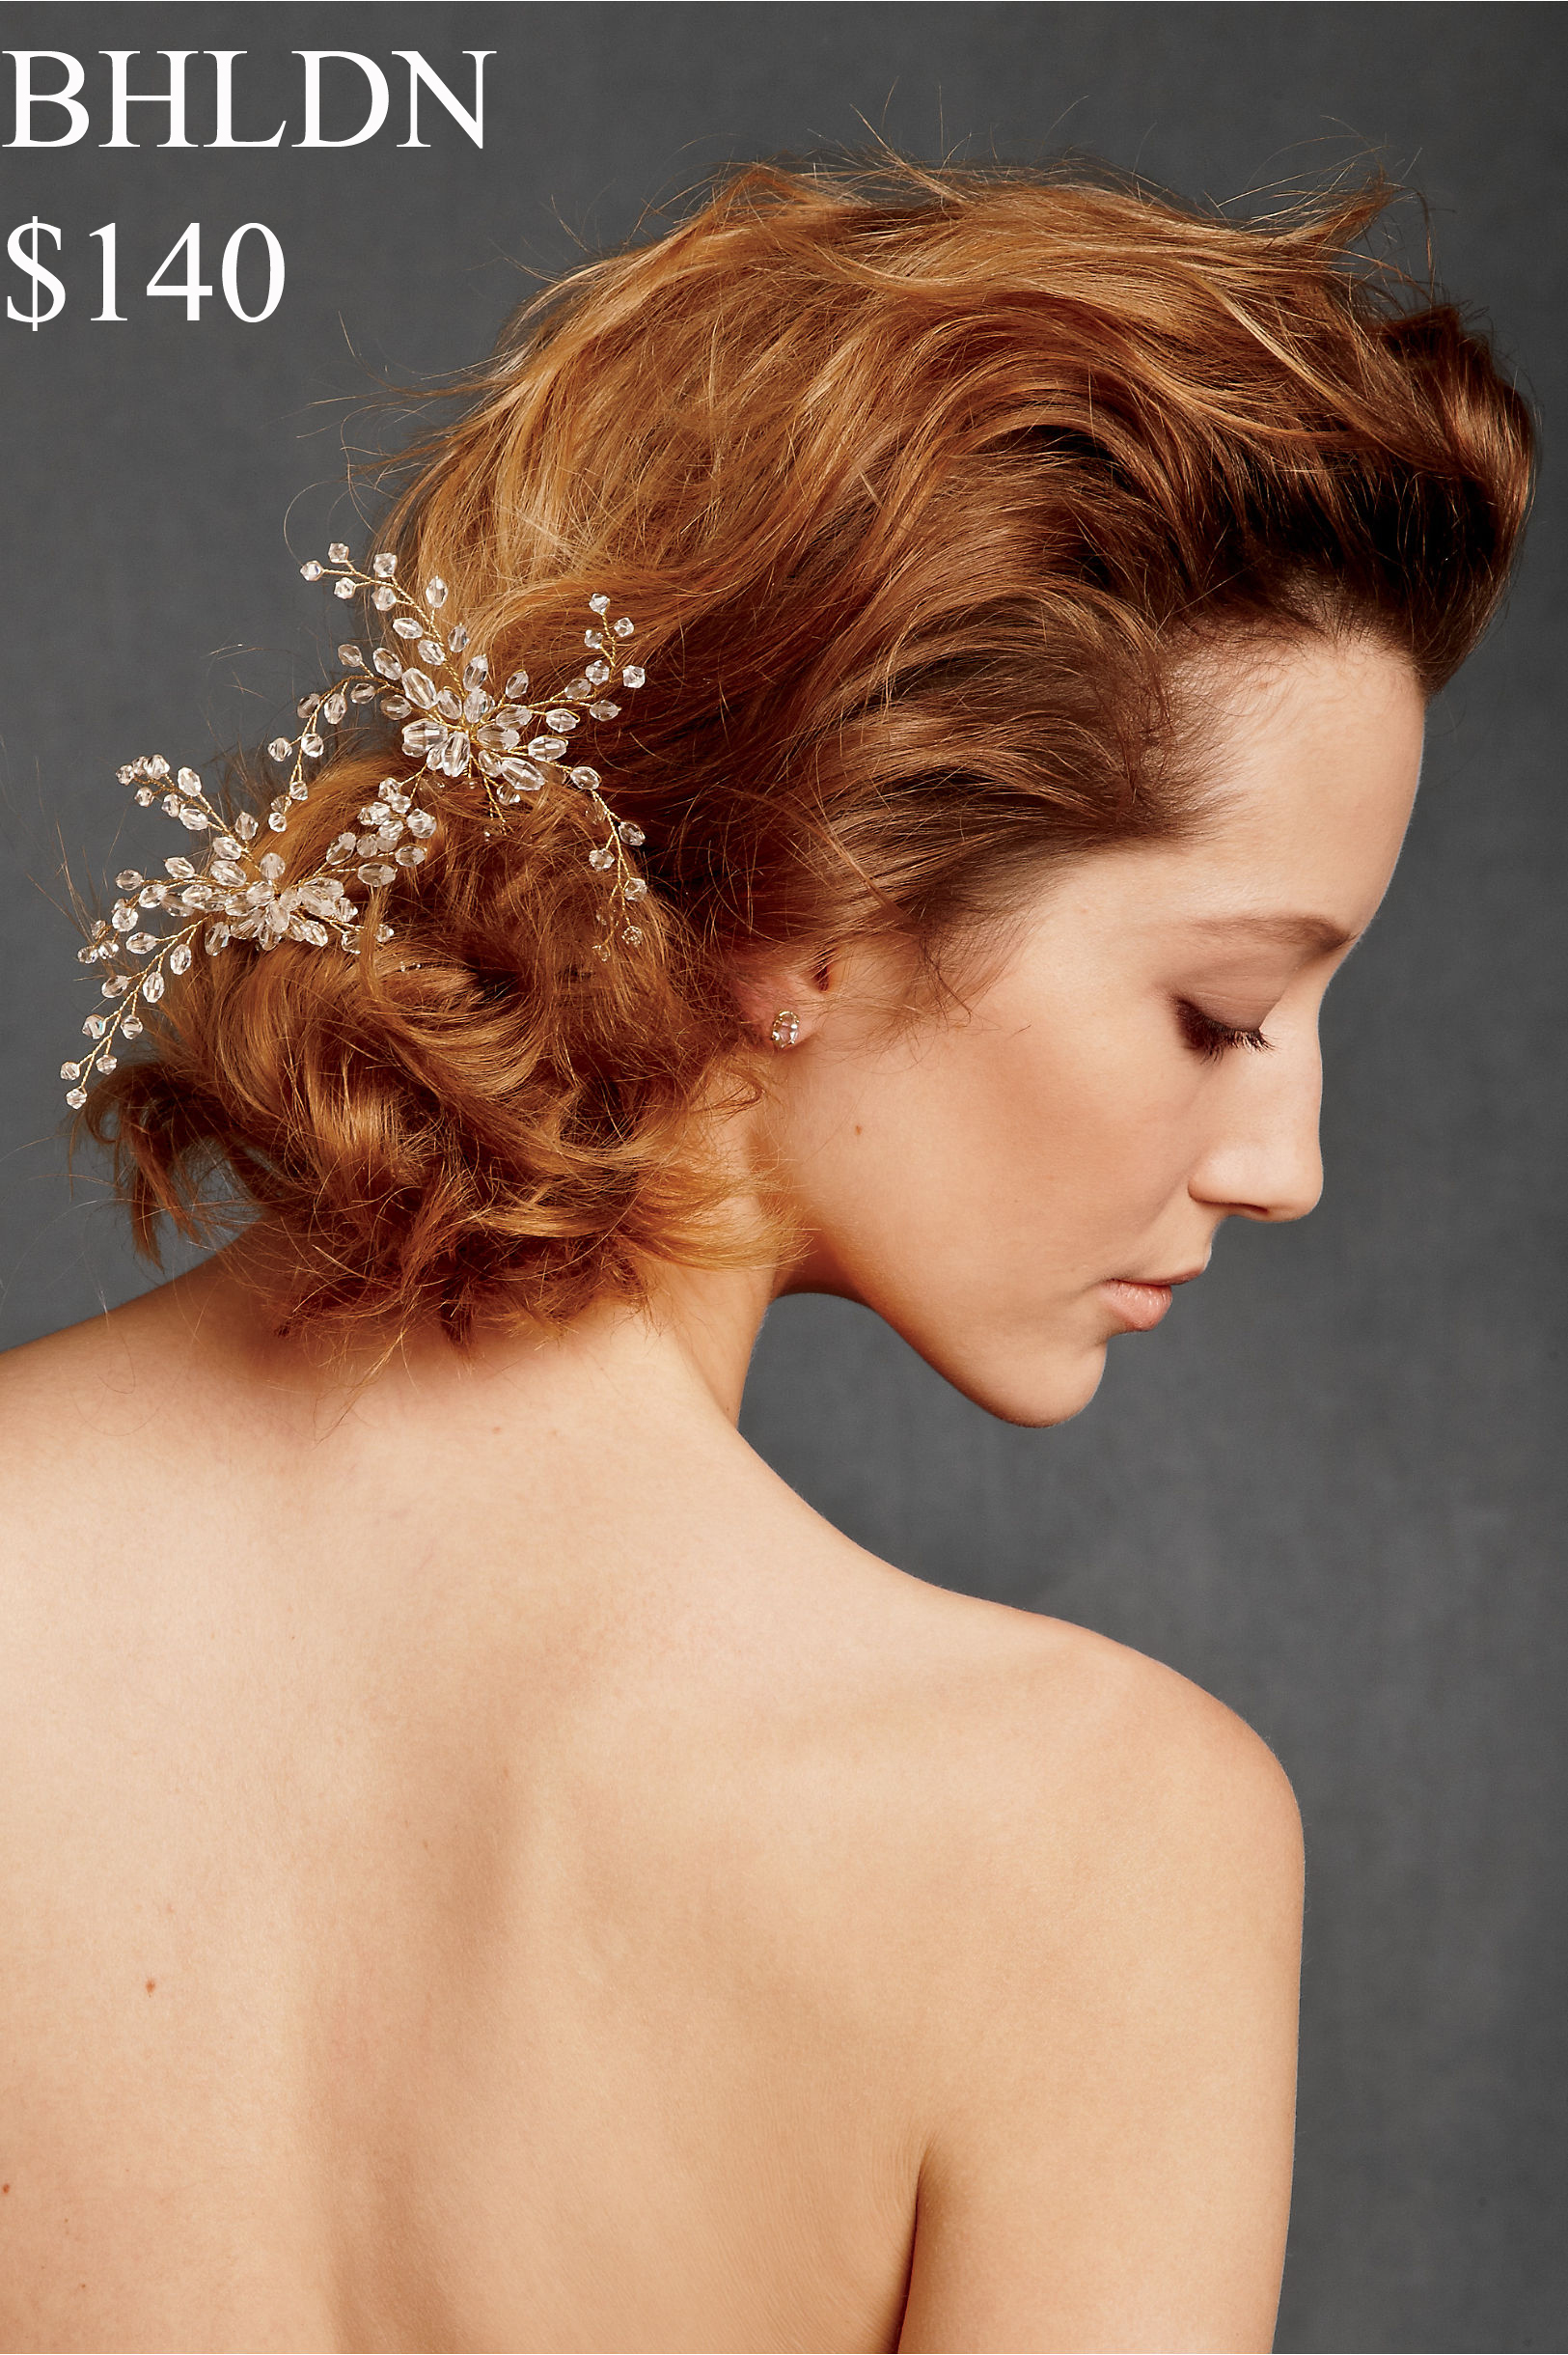
I was scanning for hours, pinning practically every item to my Pinterest boards, when I came across this:
 Wow…pretty…
I love the whimsical look of the pins and the fancy name (Dewed Vines Hairpin) also helps set the mood. However, with all the expenses of wedding planning, I could never justify spending $140 on two hair pins.
So I did some research here and there. There are hairpins that are similar on Etsy and other websites but they are all fairly pricey.
One day in the summer, by total fluke, I was driving by Beazu – a wholesale bead store – about a week after it opened and I whipped around the block so I can go in and take a better look. I was in DIY HEAVEN! Spent hours in there trying to plan out what I wanted to make. I found some great items to recreate these beautiful pins.
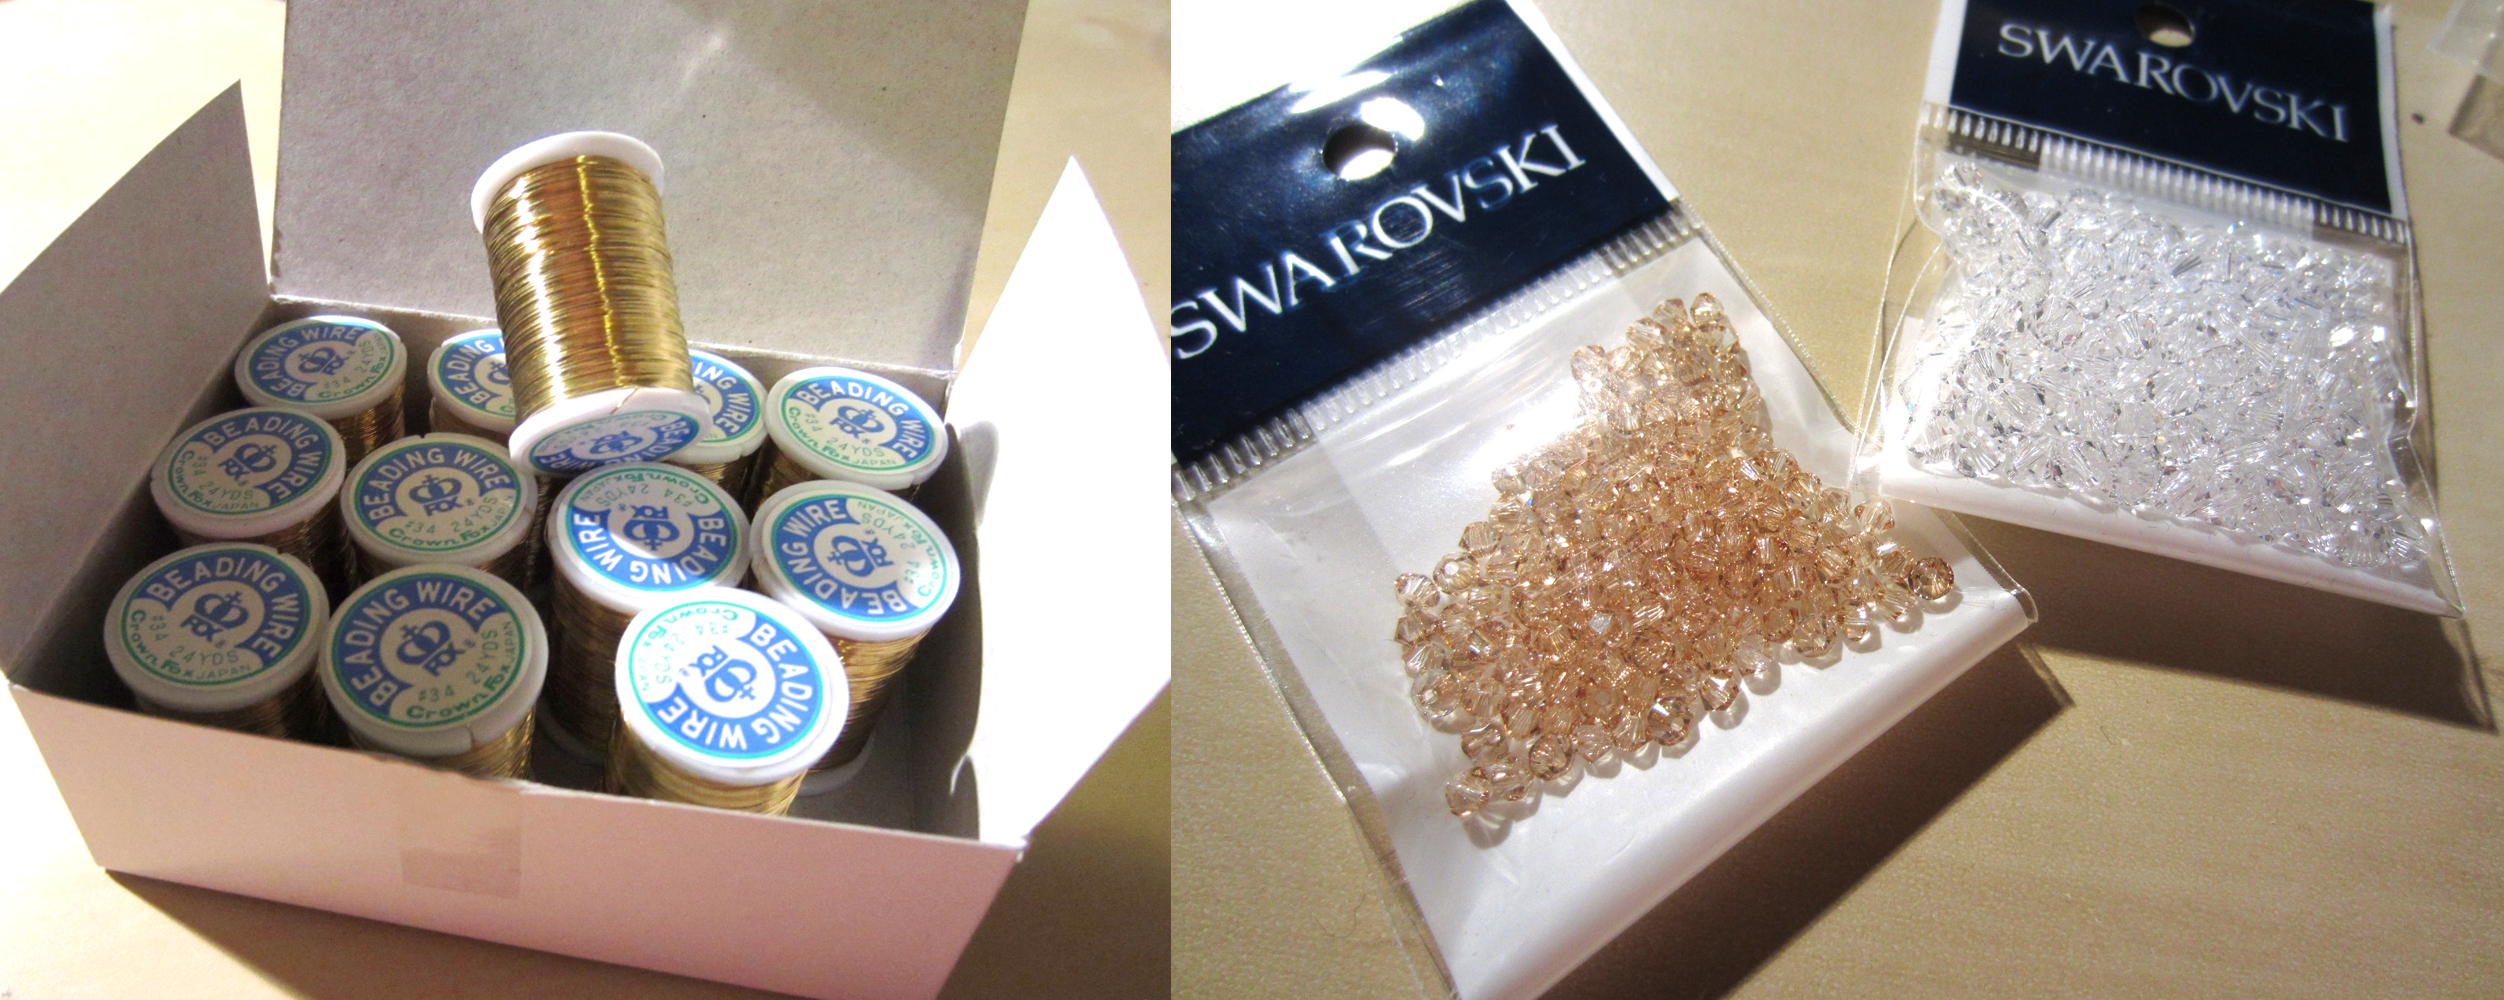
A box of tiny spools of gold wire (I think it was about $12-15), a bag of clear 4mm bicone Swarovski crystal beads ($11.62), and a bag of crystal golden shadow 3mm bicone Swarovski crystal beads ($14.81).
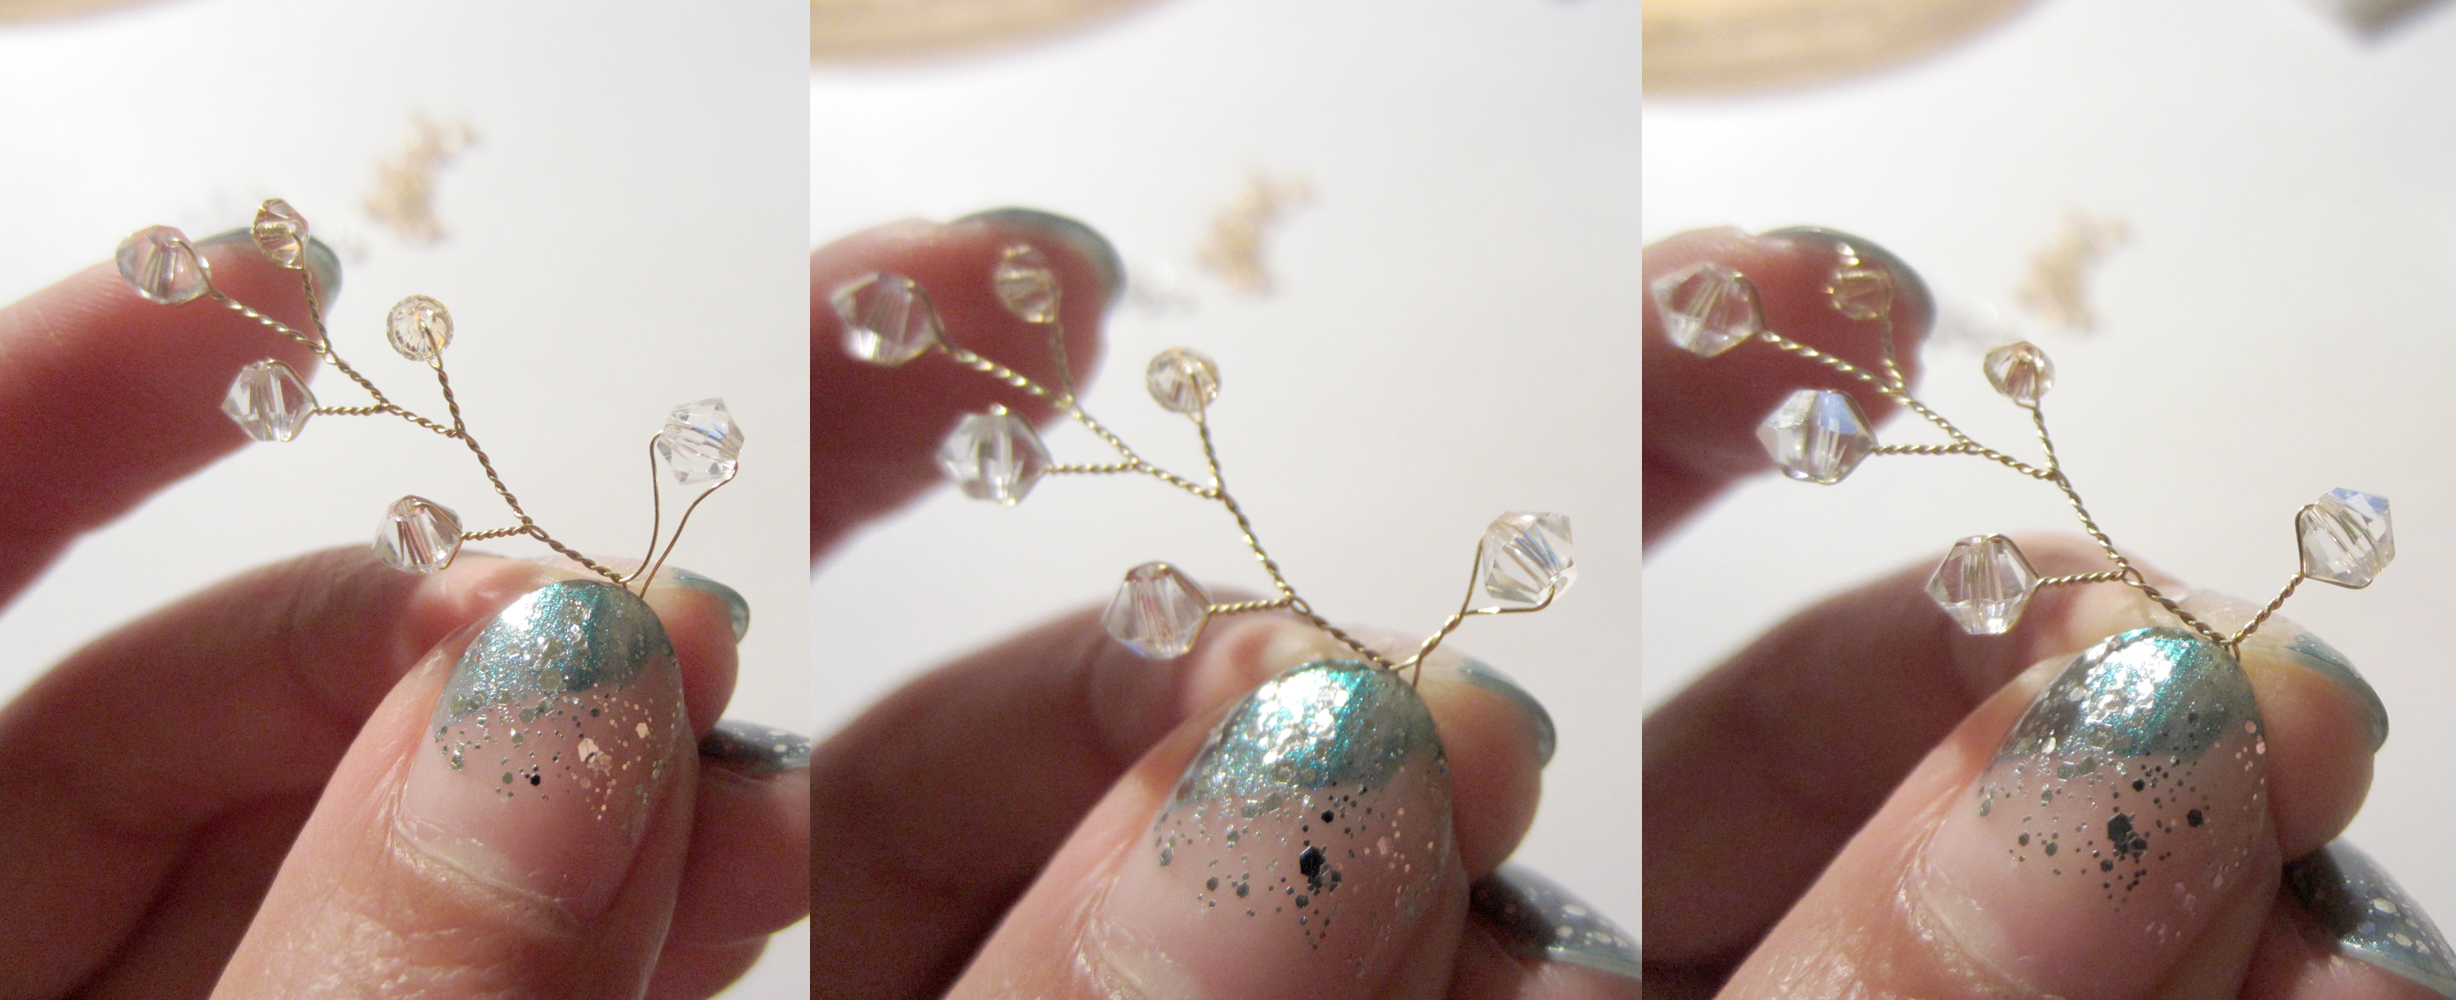
Depending on how long you want each vine of crystal to be, you can play around with it. Slide the first bead into the center of the wire and start twisting for about 1 cm. Take slide another bead into one piece of the wire and twist again. Do the same with the other wire and keep alternating – just approximately it and do it randomly to keep the look natural.

I made 10 vines, using the two different coloured crystals but you can use pearls or different sizes and shapes of crystals to change up the look.
I grabbed a hairpin (one similar to your own hair colour) and twisted the ends of each vine individually around the hairpin.
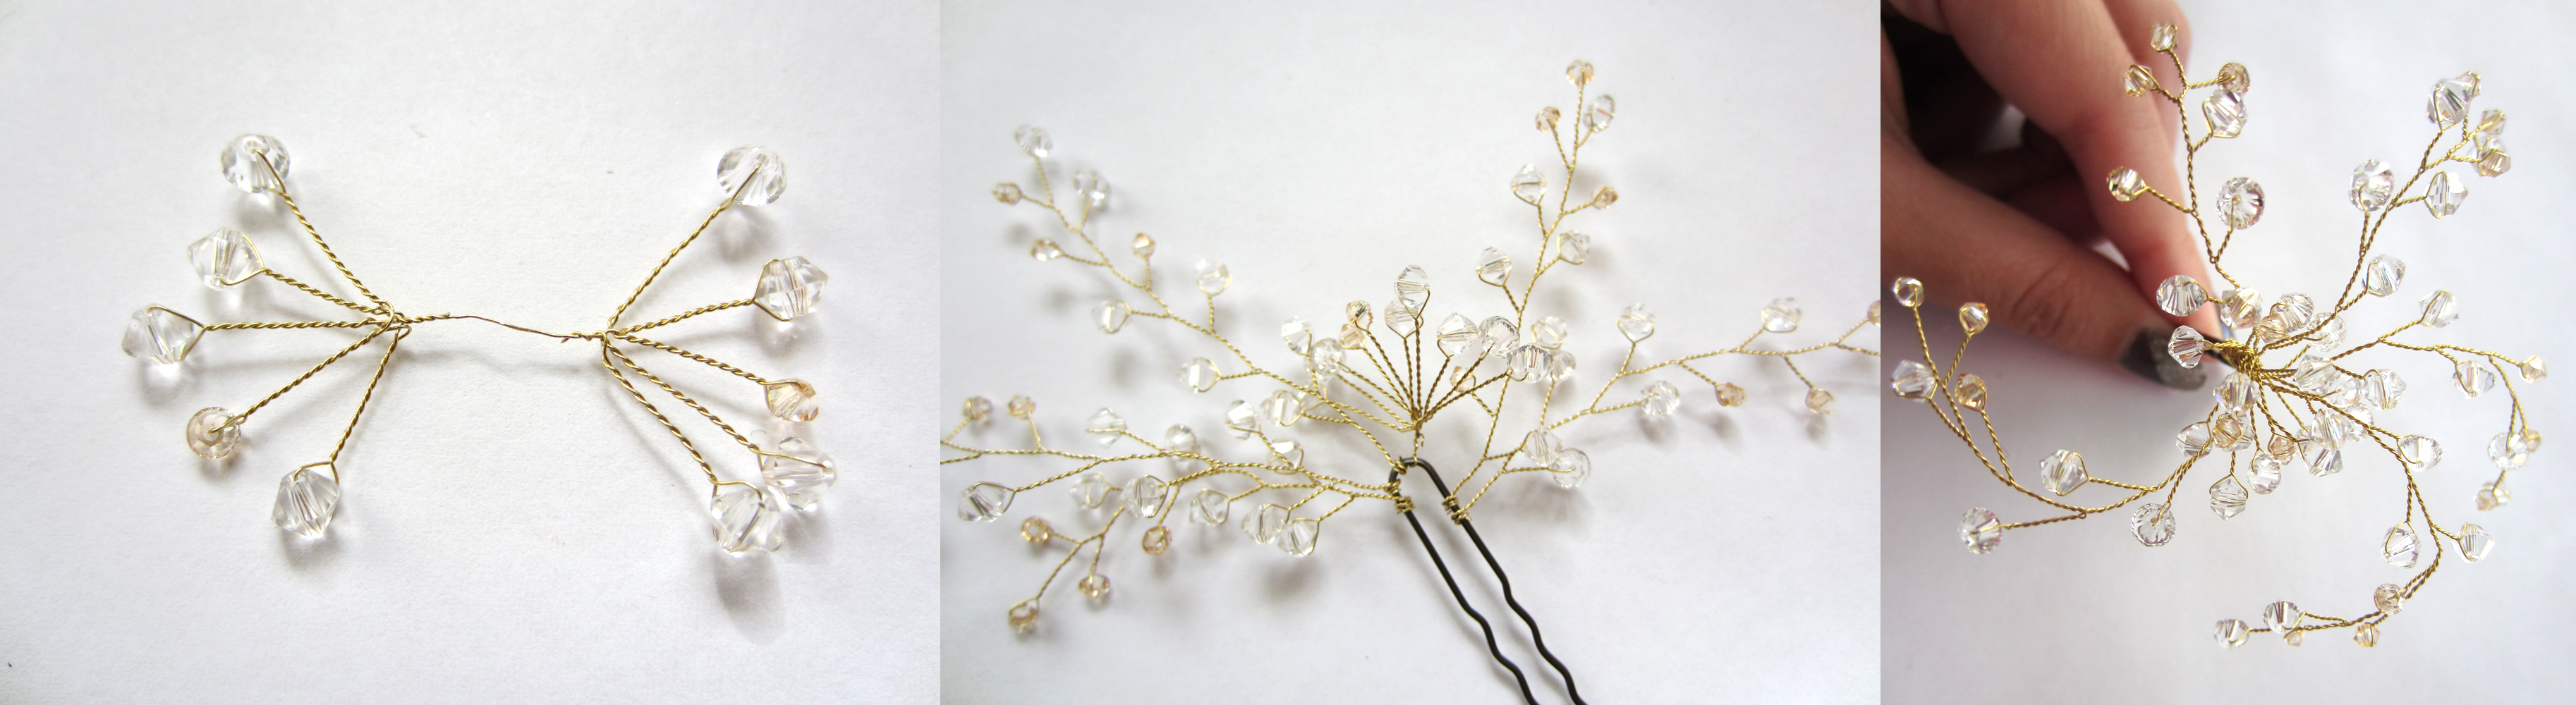
Make the stamen of the ‘flower’ shown above and twist between the vines. Push all the vines together and wrap a separate wire all around the hairpin to secure all the vines in place. Re-shape the vines into anything you find attractive! I like the pinwheel shape.
And here we go! For about $44 (with a lot of extra materials left to make more!) you can get your own customized crystal hairpins for your big day. They’re so classic and pretty that they can also be worn for any special occasion, like prom or Christmas parties or weddings (as a guest) or maybe even a casual summer dress for a nice night out.

Above is a shot of me wearing it during my autumn photoshoot (this was taken at the end so the hair is a bit ruffled – excuse that 🙂 ).
Since I didn’t have a dress made for this season (I wore my sister’s wedding dress instead, which is another way to get some variety in your pre-wedding photos) the hairpins tutorial shall suffice!
I chose to do a semi-vintage updo with gentle fingerwaves at the fringe and a curly full bun. My adorable fiance attempted to help me with the bun based on a picture I showed him – you know you’re marrying the right man when he actually attempts to do your hair for you 😉 Needless to say, he became a very helpful mirror-holder for me ![]()
